Step by Step MOSS BOWL DIY
I love a simple DIY and this moss bowl was perfect for a quick and easy project.
Here are the things you will need:
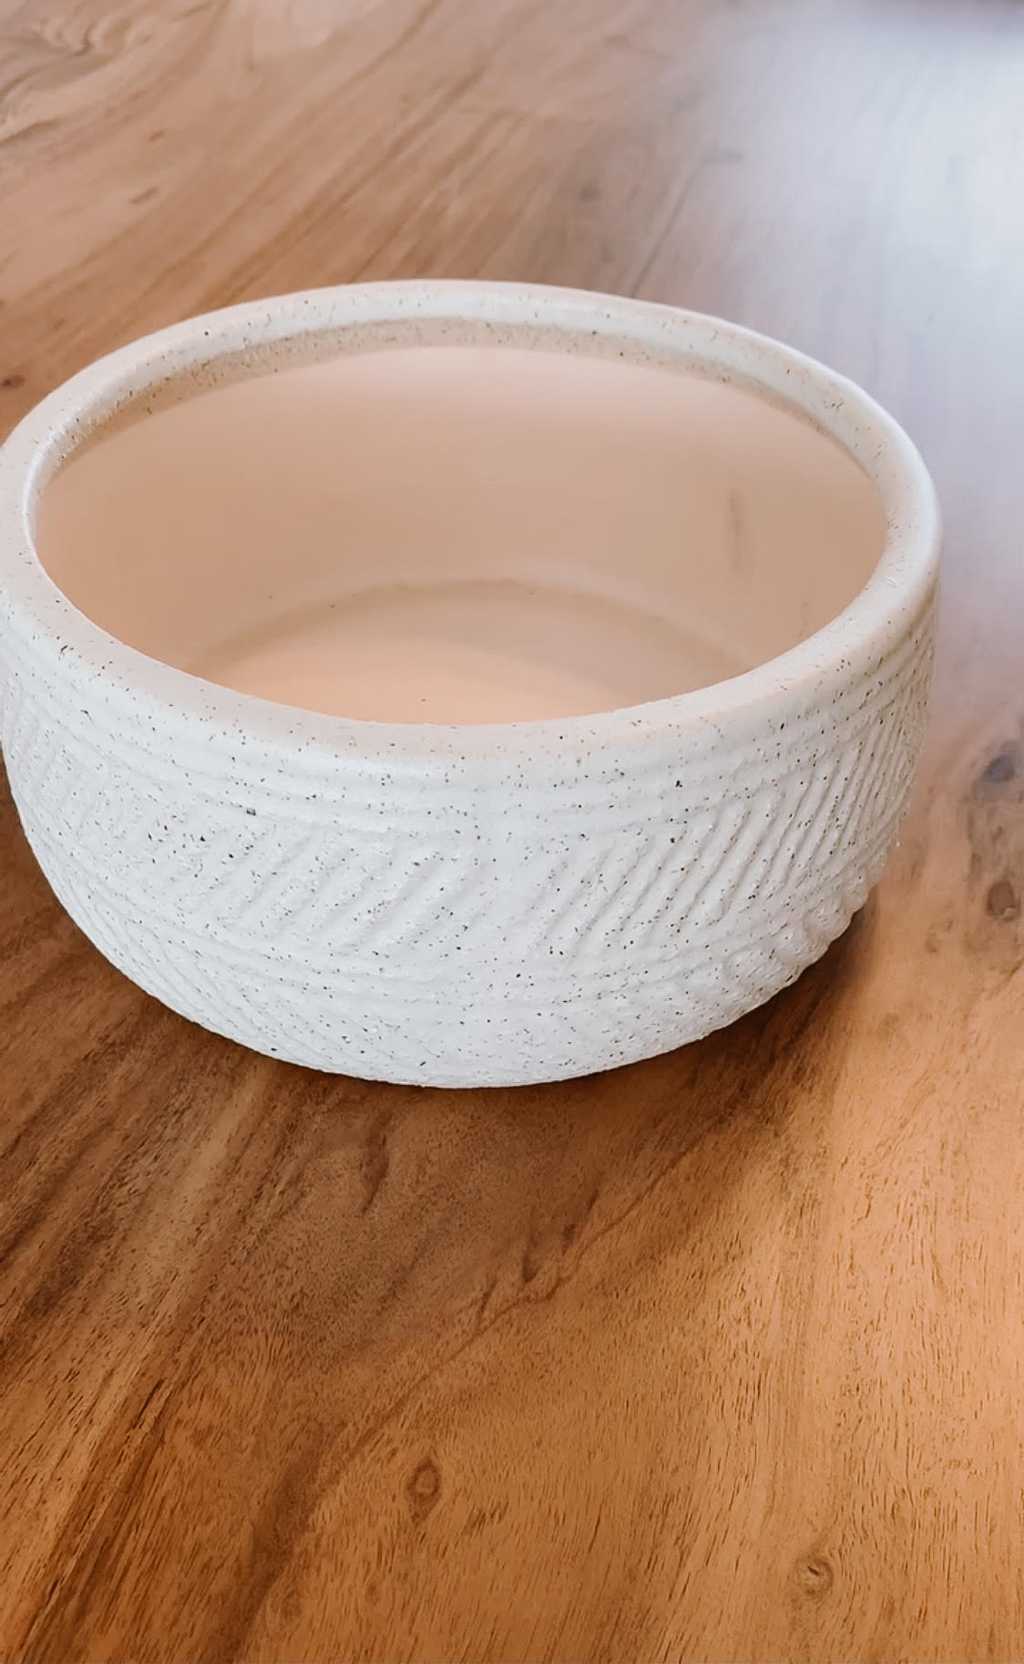
- a decorative bowl or planter
- tissue paper (to fill the bottom of the bowl)
- and moss (I got mine from the craft store)
This could be a two part DIY if you had a dish/bowl you wanted to repaint first and then make into a moss bowl. I just went out and bought an inexpensive bowl for this project though.

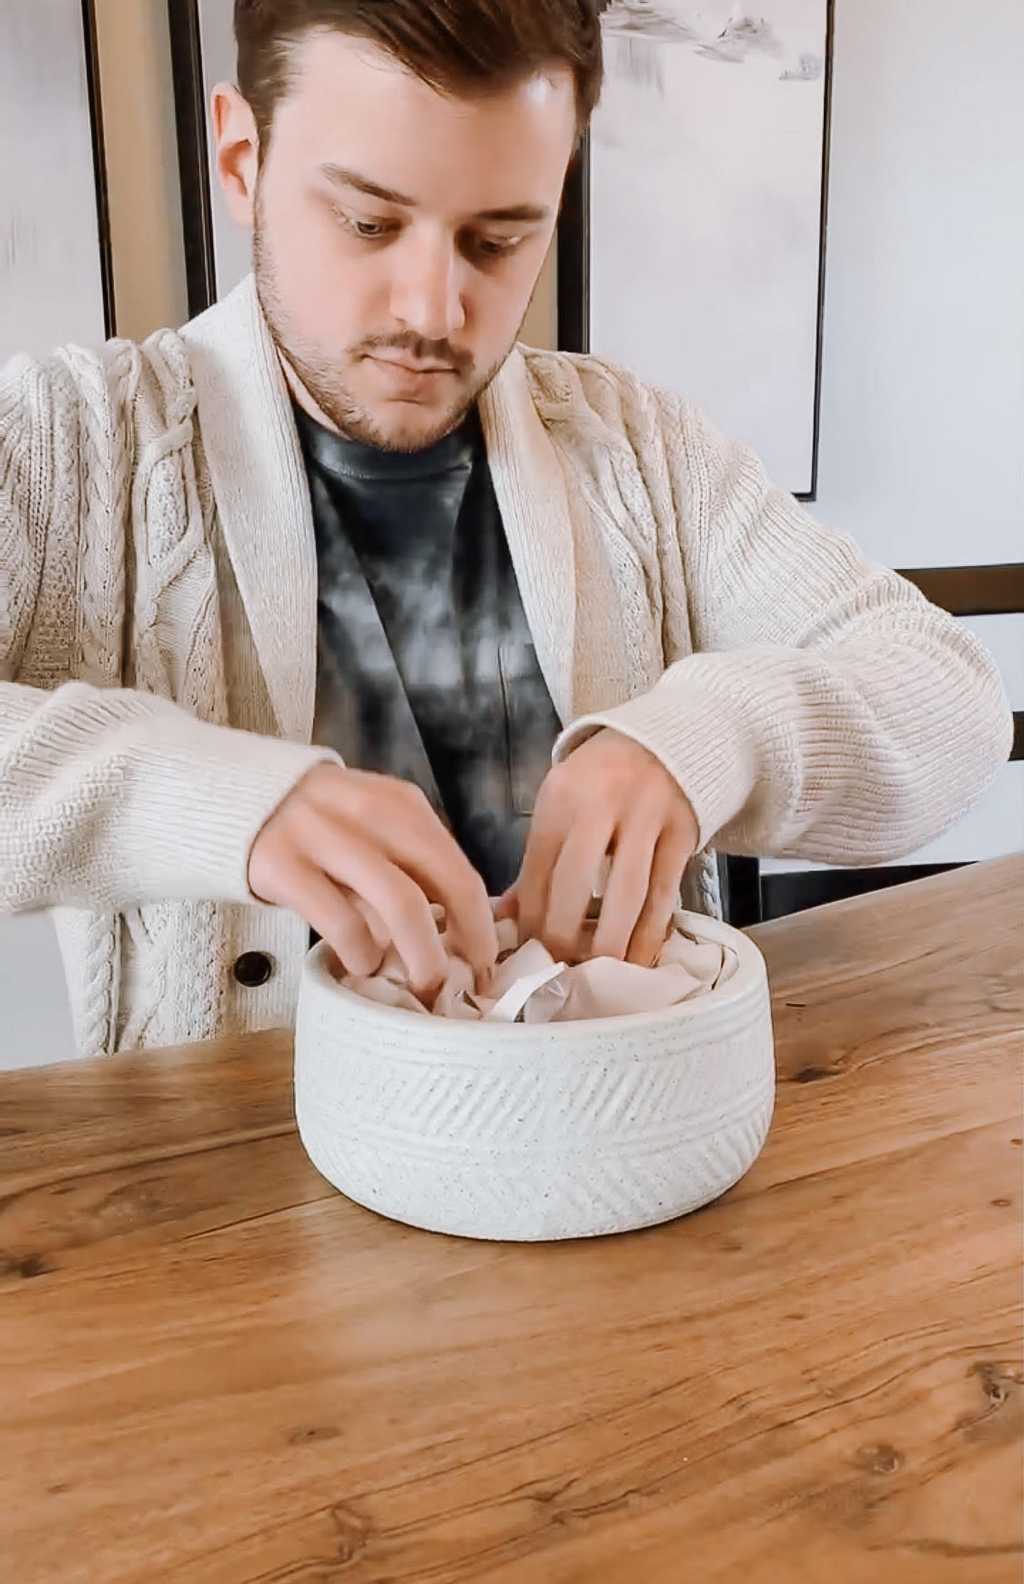
Once you’ve selected the bowl you will be using fill it to the top with tissue paper. Crumple it up, so that it will take up more space inside the bowl. Once the bowl is full add the moss on top of the tissue paper, making sure that you cannot still see any tissue paper peaking through.
Step 1.
Take your bowl and fill it to the top with tissue paper, bubble wrap, newspaper Whatever you have on hand, it doesn’t need to be fancy. The game plan here is that we are just trying to fill up the space inside the bowl so the moss can sit on top of it.

Step 2.
Once you’ve filled your bowl start placing the moss on top of the tissue paper or whatever else you used. You may also use a little bit of hot glue to help if you are noticing that the moss is not really staying where you place it. Make sure to add enough moss that you cannot see whatever if being used to fill up the inside of the bowl.

Complete!
There you have it. The easiest DIY I think I have ever done. Super inexpensive and looks so fresh and adds that touch of greenery into your home.
Hopefully this tutorial was helpful, and let me know if you try this yourself or tag me in it over on Instagram @benjamin_interiors